Connect Streamlit to MySQL
Introduction
This guide explains how to securely access a MySQL database from Streamlit Cloud. It uses the mysql-connector-python library and Streamlit's secrets management.
Create a MySQL database
Note
If you already have a database that you want to use, feel free to skip to the next step.
First, follow this tutorial to install MySQL and start the MySQL server (note down the username and password!). Once your MySQL server is up and running, connect to it with the mysql client and enter the following commands to create a database and a table with some example values:
CREATE DATABASE pets;

USE pets;

CREATE TABLE mytable (
    name            varchar(80),
    pet             varchar(80)
);

INSERT INTO mytable VALUES ('Mary', 'dog'), ('John', 'cat'), ('Robert', 'bird');
Add username and password to your local app secrets
Your local Streamlit app will read secrets from a file .streamlit/secrets.toml in your app's root directory. Create this file if it doesn't exist yet and add the database name, user, and password of your MySQL server as shown below:
# .streamlit/secrets.toml

[mysql]
host = "localhost"
port = 3306
database = "xxx"
user = "xxx"
password = "xxx"
Important
Add this file to .gitignore and don't commit it to your Github repo!
Copy your app secrets to the cloud
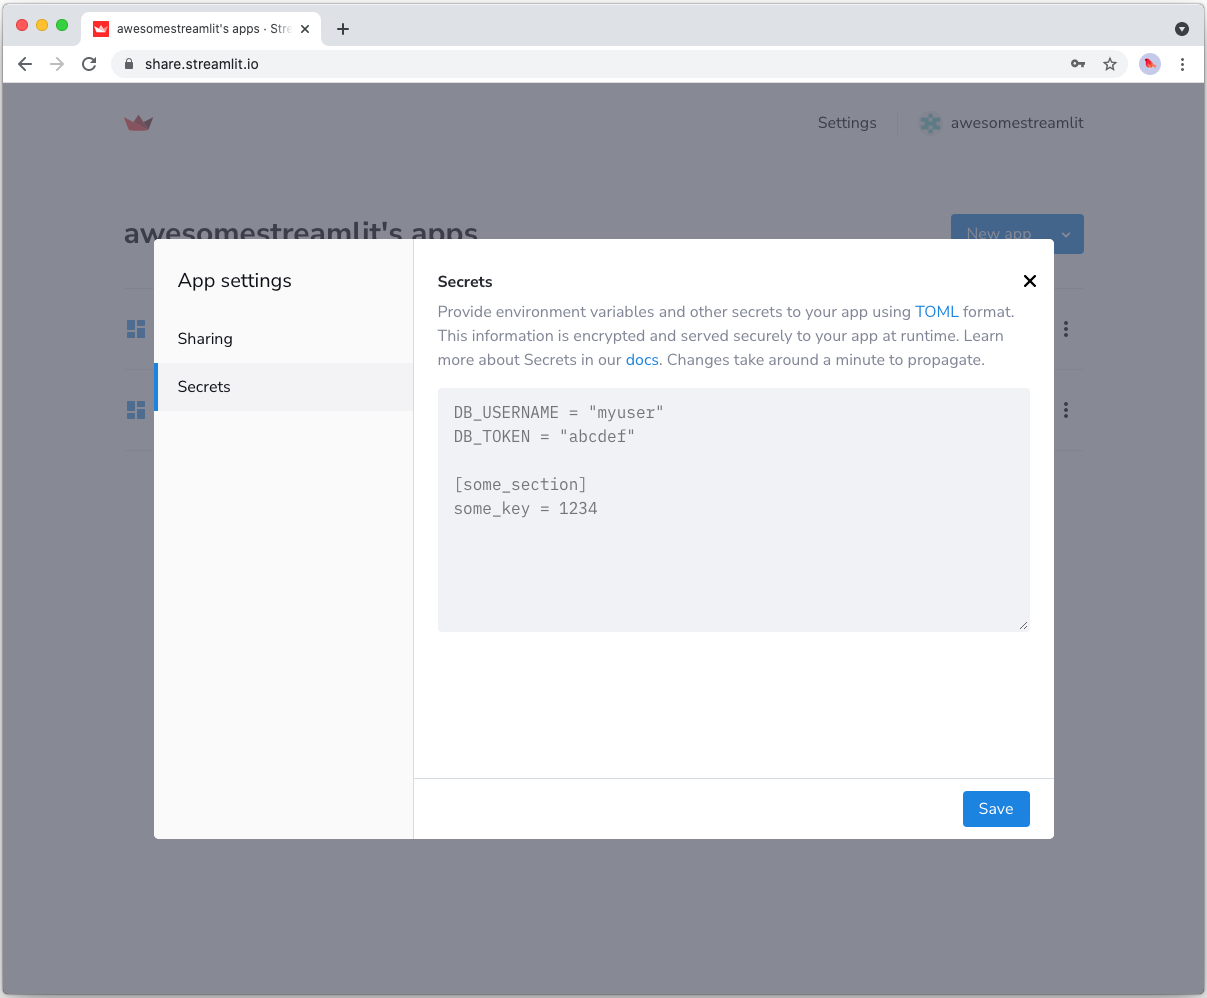
As the secrets.toml file above is not committed to Github, you need to pass its content to your deployed app (on Streamlit Cloud) separately. Go to the app dashboard and in the app's dropdown menu, click on Edit Secrets. Copy the content of secrets.toml into the text area. More information is available at Secrets Management.
Add mysql-connector-python to your requirements file
Add the mysql-connector-python package to your requirements.txt file, preferably pinning its version (replace x.x.x with the version you want installed):
# requirements.txt
mysql-connector-python==x.x.x
Write your Streamlit app
Copy the code below to your Streamlit app and run it. Make sure to adapt query to use the name of your table.
# streamlit_app.py
import streamlit as st
import mysql.connector
# Initialize connection.
# Uses st.cache to only run once.
@st.cache(allow_output_mutation=True, hash_funcs={"_thread.RLock": lambda _: None})
def init_connection():
return mysql.connector.connect(**st.secrets["mysql"])
conn = init_connection()
# Perform query.
# Uses st.cache to only rerun when the query changes or after 10 min.
@st.cache(ttl=600)
def run_query(query):
with conn.cursor() as cur:
cur.execute(query)
return cur.fetchall()
rows = run_query("SELECT * from mytable;")
# Print results.
for row in rows:
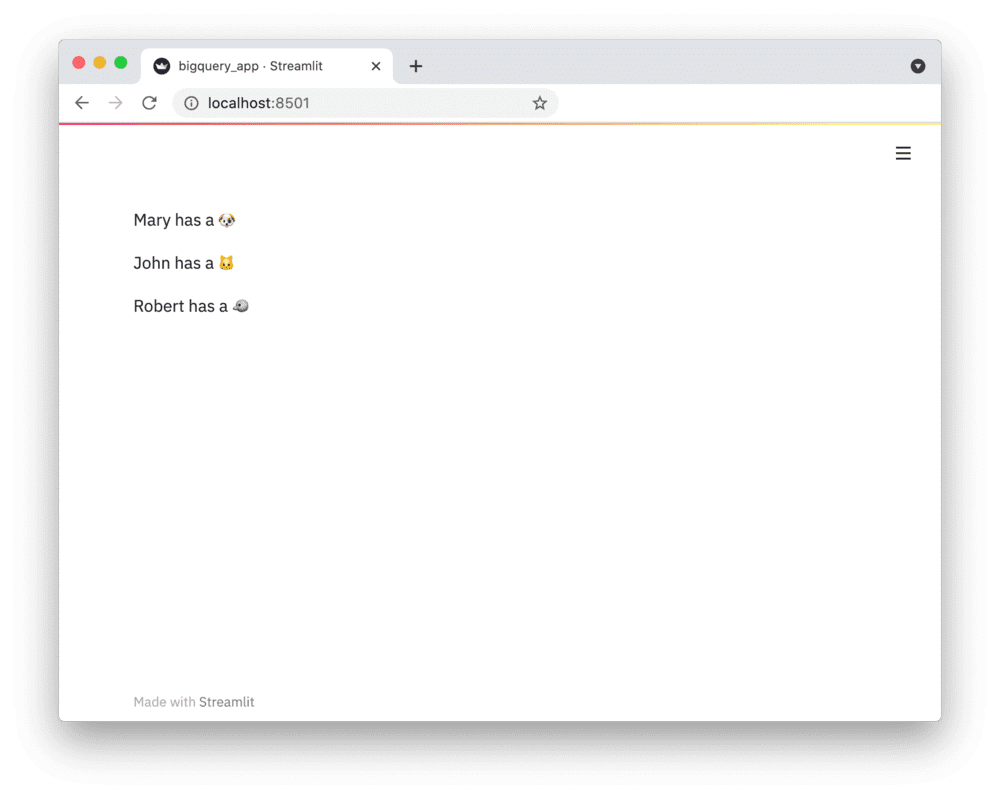
st.write(f"{row[0]} has a :{row[1]}:")
See st.cache above? Without it, Streamlit would run the query every time the app reruns (e.g. on a widget interaction). With st.cache, it only runs when the query changes or after 10 minutes (that's what ttl is for). Watch out: If your database updates more frequently, you should adapt ttl or remove caching so viewers always see the latest data. Read more about caching here.
If everything worked out (and you used the example table we created above), your app should look like this: